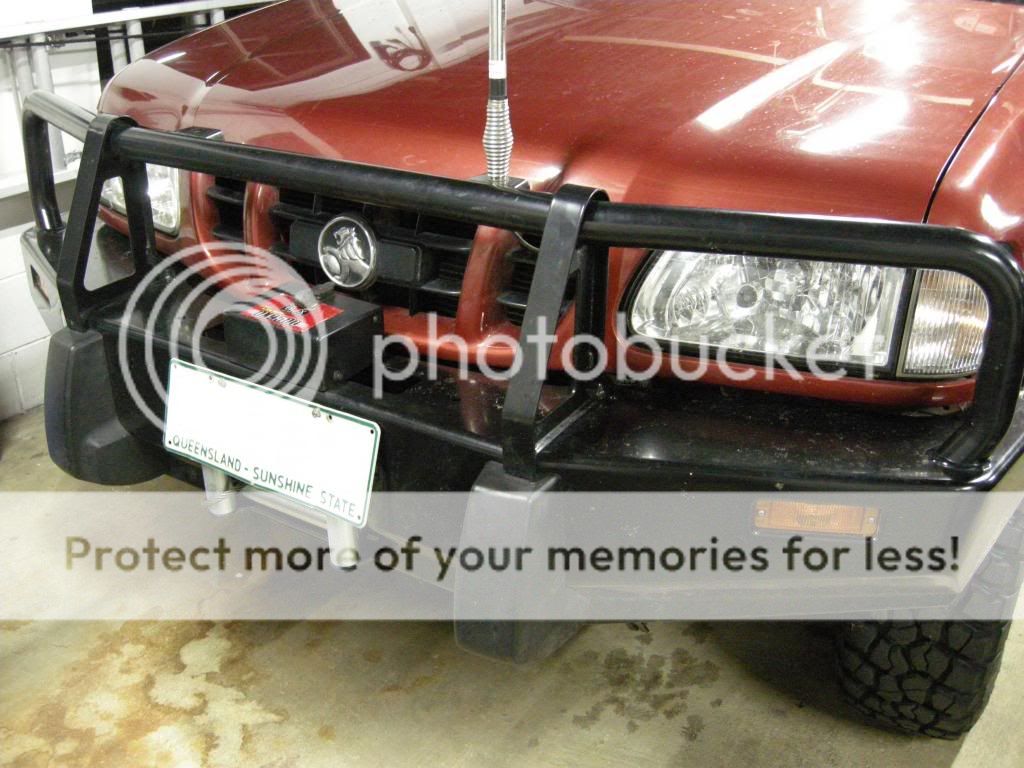
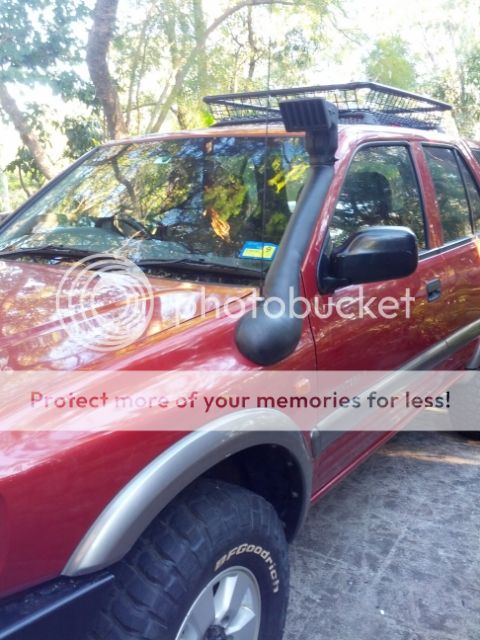
I have also fitted my Airflow snorkel using the template kindly shared around by a Frontera owner on the Australian4wd Forum.
Snorkels for a LWB Frontera are rare as hens teeth, Airflow do make one for a SWB Frontera and these are Fairly close.
I ended up going down a slightly different path to everyone else whos has installed one and decided to fill the gaps with filler rather than silicone.
I tried to use body filler first, however having never used it before the first batch went hard in the container, the second batch did not harden at all.
I ended up using a product called Selleys Knead it available at Bunnings that I have used in my pool before.
I also put a thin bead of silicon between the snorkel and my putty in-case it decided to let go.
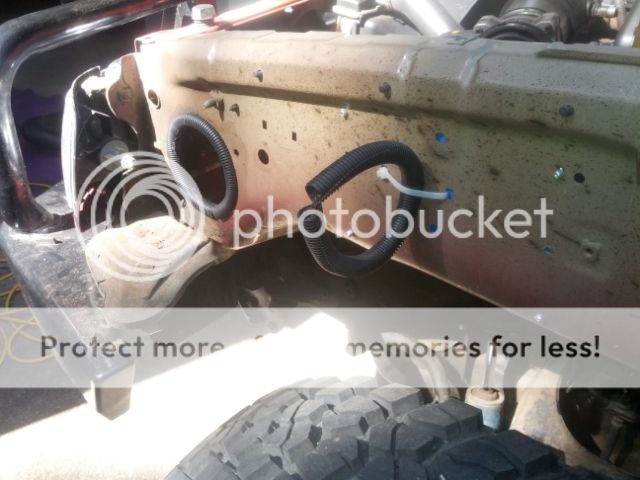
I shaped the aerial base a puttied that up as well, probably impossible without a Dremel
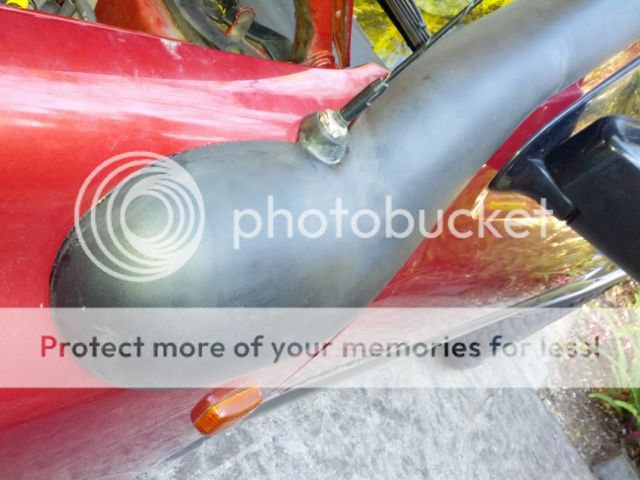
I used electrical conduit that I had lying around to support the pipe where needed. I did not want it resting on the inner guard.
I removed the front quarter panel. In the end I was whipping it on and off in about 5 mins to apply putty - allow to dry - sand - apply more putty - etc.
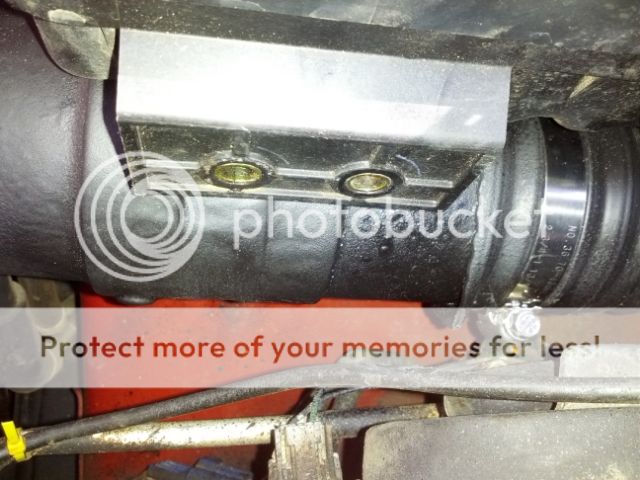
To get the air hose into the air box I used a 65mm Diameter Pipe into a Bunnings Reducer. The pipe supplied to me from Airflow was long enough.
While I was buying bits and pieces I discovered rubber paint. I have sprayed this over all my new pipework under the bonnet and it looks sweet as.
The finished product
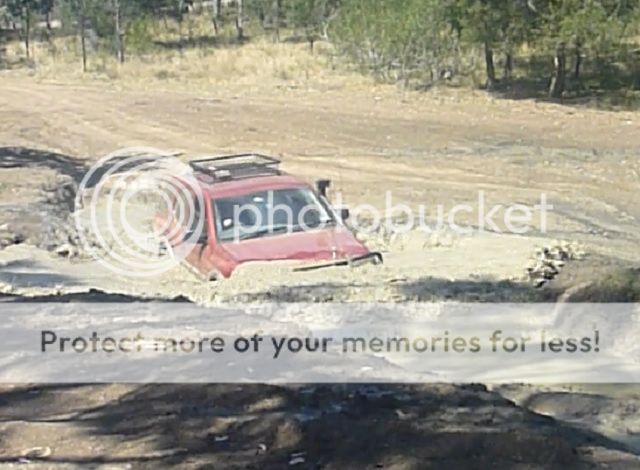
First stage of Approval Testing
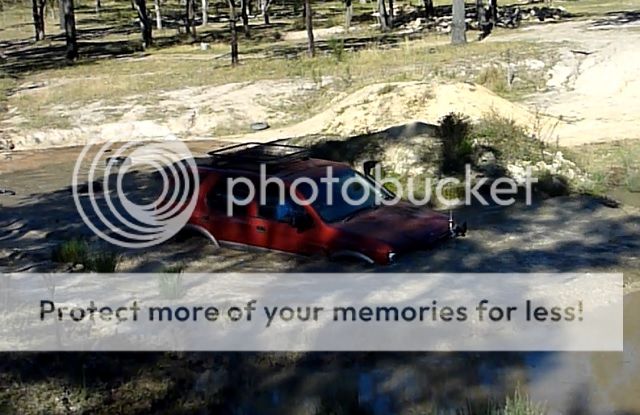
Stage 2 Approval
So far So Good